Summer evening racing at Dallas Corinthian Yacht Club aboard "Scoots," a J 29 driven by Dan Wolf. This is a reverse-start race with faster boats starting behind.
Wednesday, June 27, 2012
Evening racing
Summer evening racing at Dallas Corinthian Yacht Club aboard "Scoots," a J 29 driven by Dan Wolf. This is a reverse-start race with faster boats starting behind.
Monday, June 25, 2012
Hatches with take-apart hinges.


Sunday, June 24, 2012
Wednesday, June 20, 2012
Sails by Sailrite
Thanks to Kevin and Joy for lending me their home including emptying out their living room for a couple days so we could spread out. Here is a small stop action of the process once we had most of the panels sewn together. This clip shows the joining of the last two sections of the main sail to form the final sail shape. The photos are from the GoPro Hero my lovely wife gave me for my birthday. If anyone out there knows of some good resources for learning to get good quality time lapse videos from GoPro files I would love some input.
There was still lots of work after this including hemming the leech, adding a bolt rope to the luff, and adding a tape to the foot. Still to come is adding all the grommets in the corners, sewing webbing loops for the sail slides, riveting the headboard in place, and various other little tasks. But for the most part, the sails are done!
I'll post more pics of some of the sail detail work soon.
Wednesday, June 6, 2012
Coamings and paint
Most of the work lately has been centered on getting the coaming finished. The coaming consists of two layers of bent plywood with exposed ply edges which are prone to water intrusion and not particularly attractive. So I added a thin mahogany cap to better seal the edges and hopefully give it a nicer, more finished look. Below, you can see a portion of the coaming with the cap epoxied in place.
This is a shot of the rough mahogany material and another after a quick sanding with 60 grit. Once it gets an epoxy coating, it will be quite a bit darker and redder like the adjacent deck.
The mahogany cap is cut a bit oversized and I will run the flush-cut router bit over it so it will match the thickness of the coaming exactly. The rear corners were a bit tricky and required a three-layer lamination to take the correct bend. So it's back to the bending jig to get those bits made.
I've also gotten a couple primer coats of white on the cockpit area. Once that has a chance to cure a bit, I will hit it with a couple coats of the off-white color I've chosen for the interior. Hopefully this will reduce glare a bit.
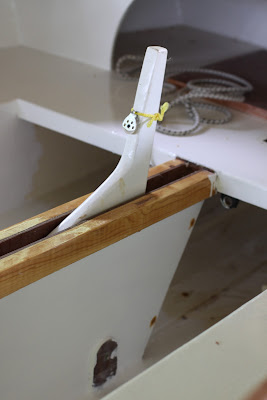
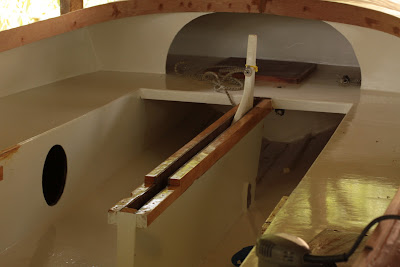
Here the centerboard is in place so I can start fitting the running rigging for the up/downhaul. I'm trying to route most of the rigging along side the centerboard case below the level of the seat tops so I can potentially add hatches to cover the foredeck to make a sleeping deck.
It's getting close to rigging time!
Subscribe to:
Posts (Atom)


